Headspace: Short Film
Overview
Headspace, seen in Figure 1, is a five-minute short film that I produced as a part of a team of four for a digital video production course. The film follows a young rising model who finds himself headless following a dispute with his assistant and must grapple with his vanity or remain headless and lose his job. During production, I occupied the roles of director, camera operator and one of two visual effects (VFX) artists.
Directing and Camera Operation
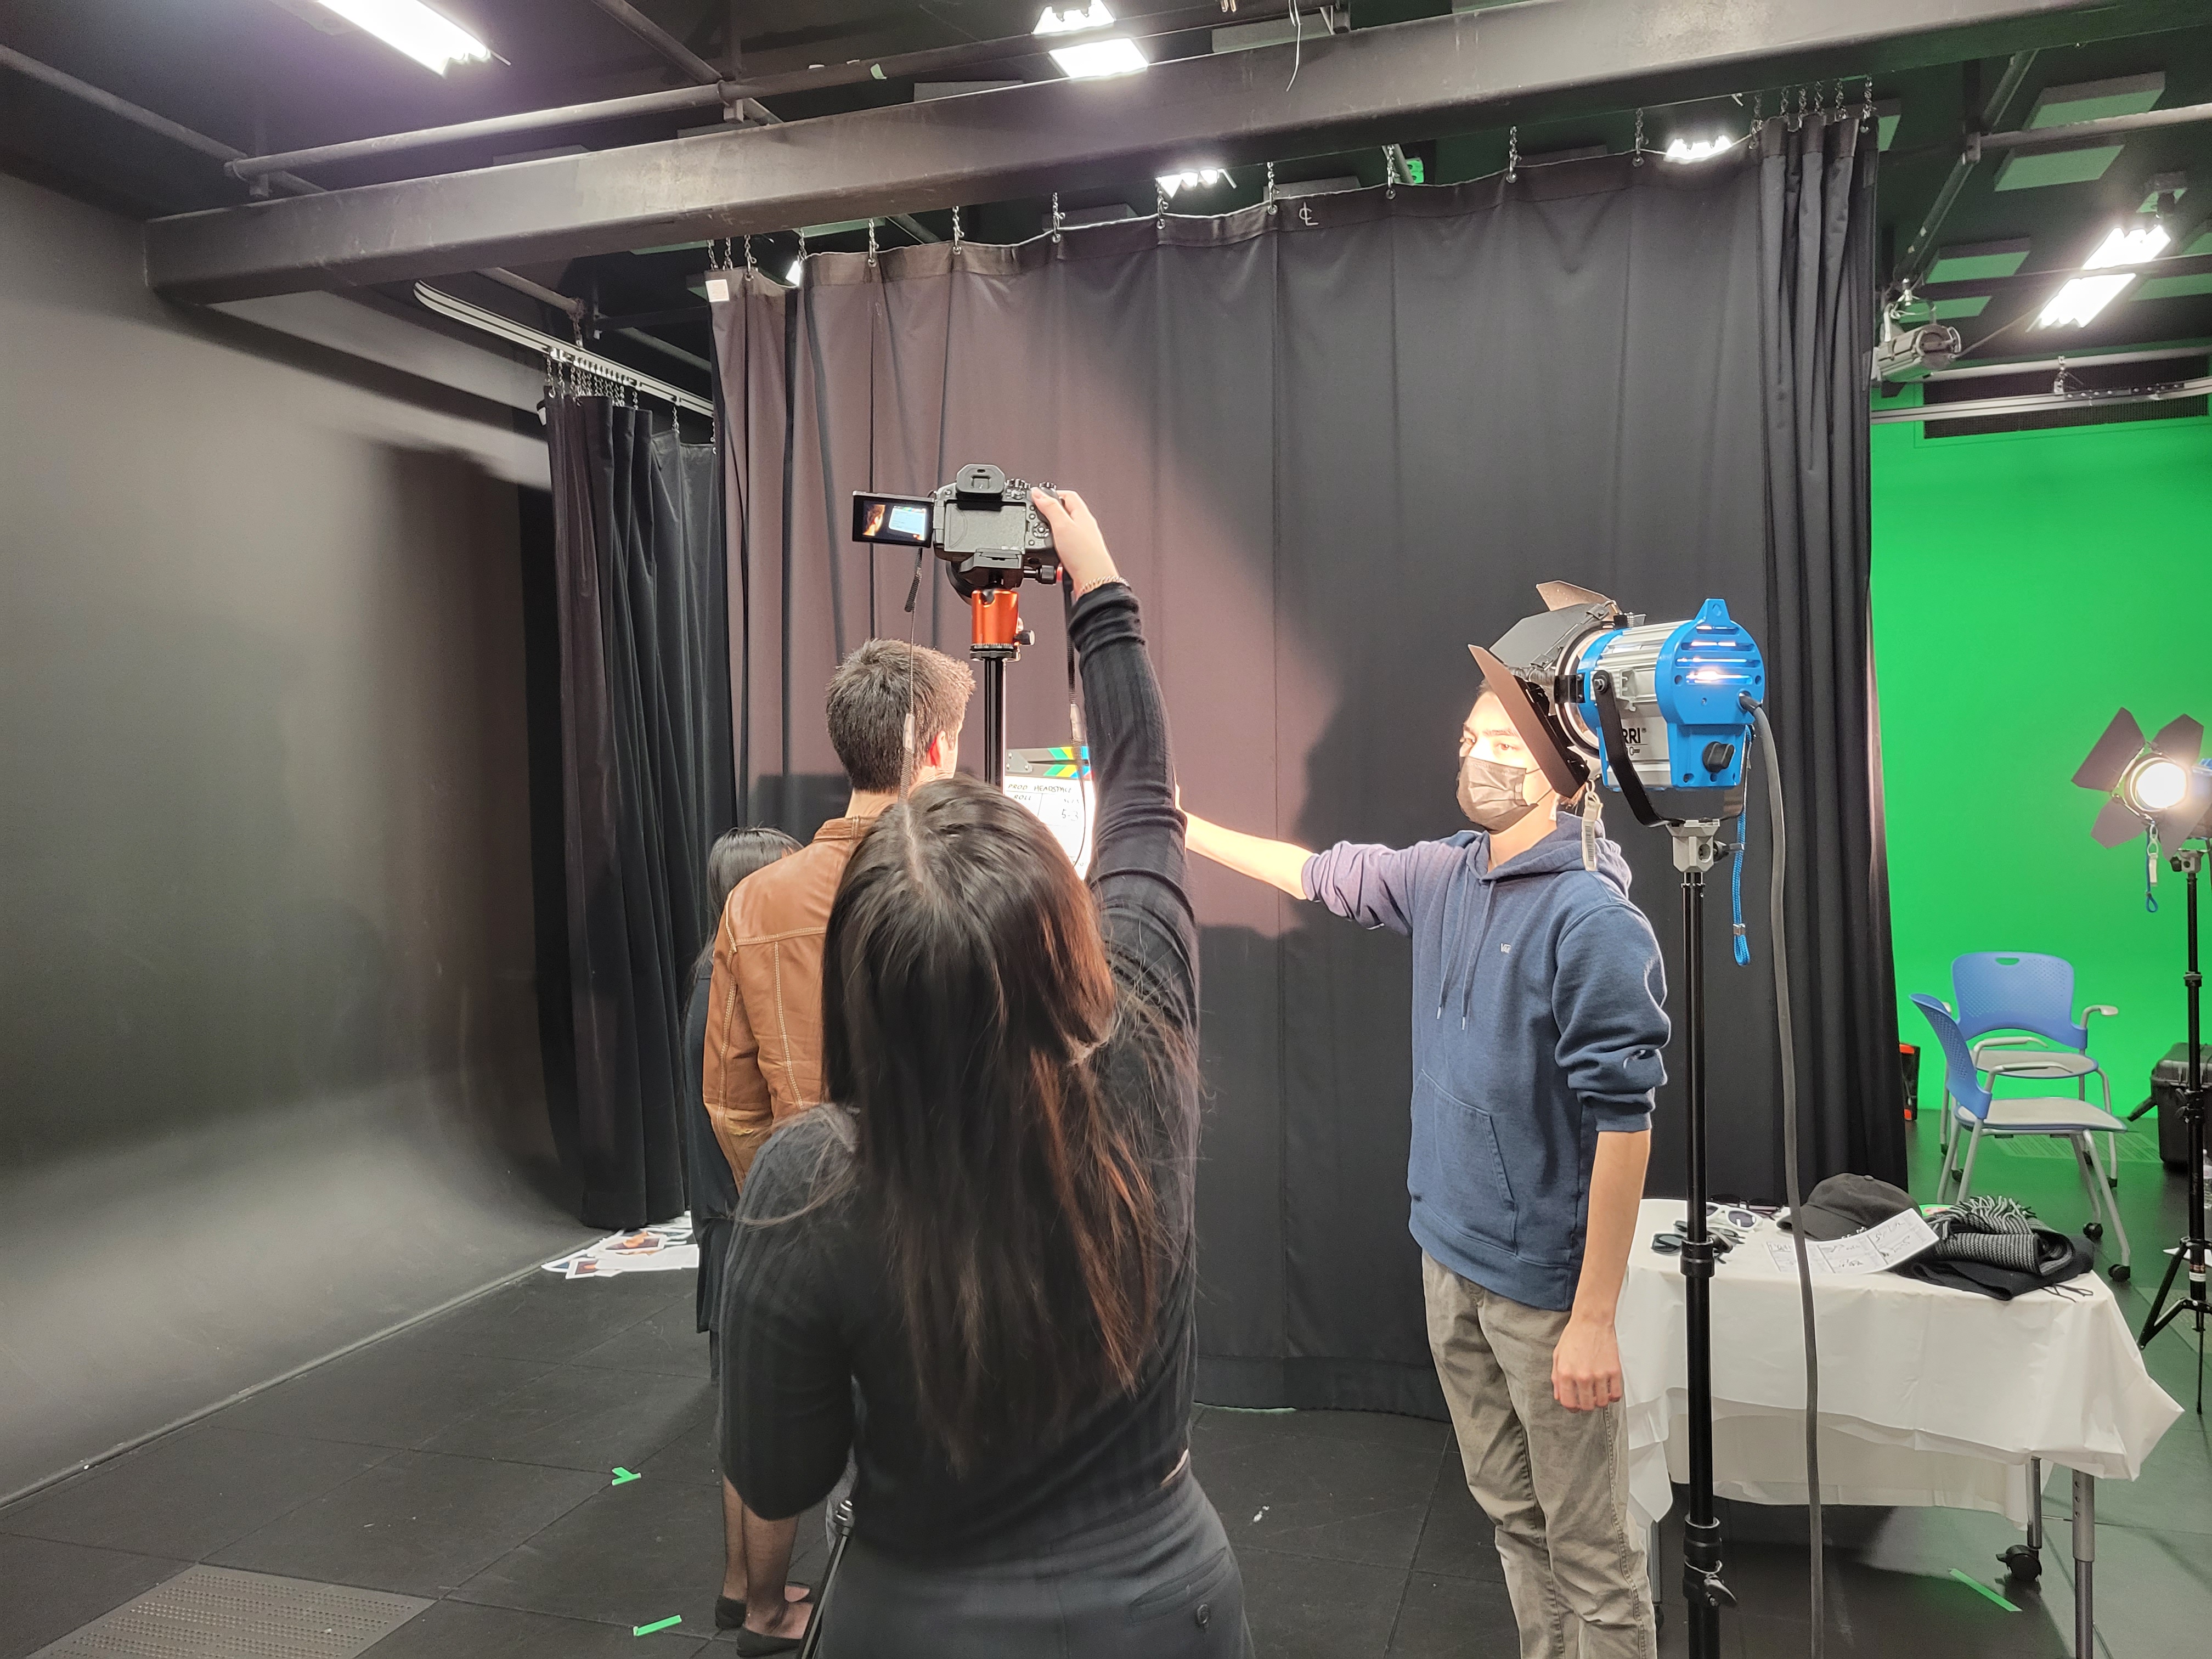
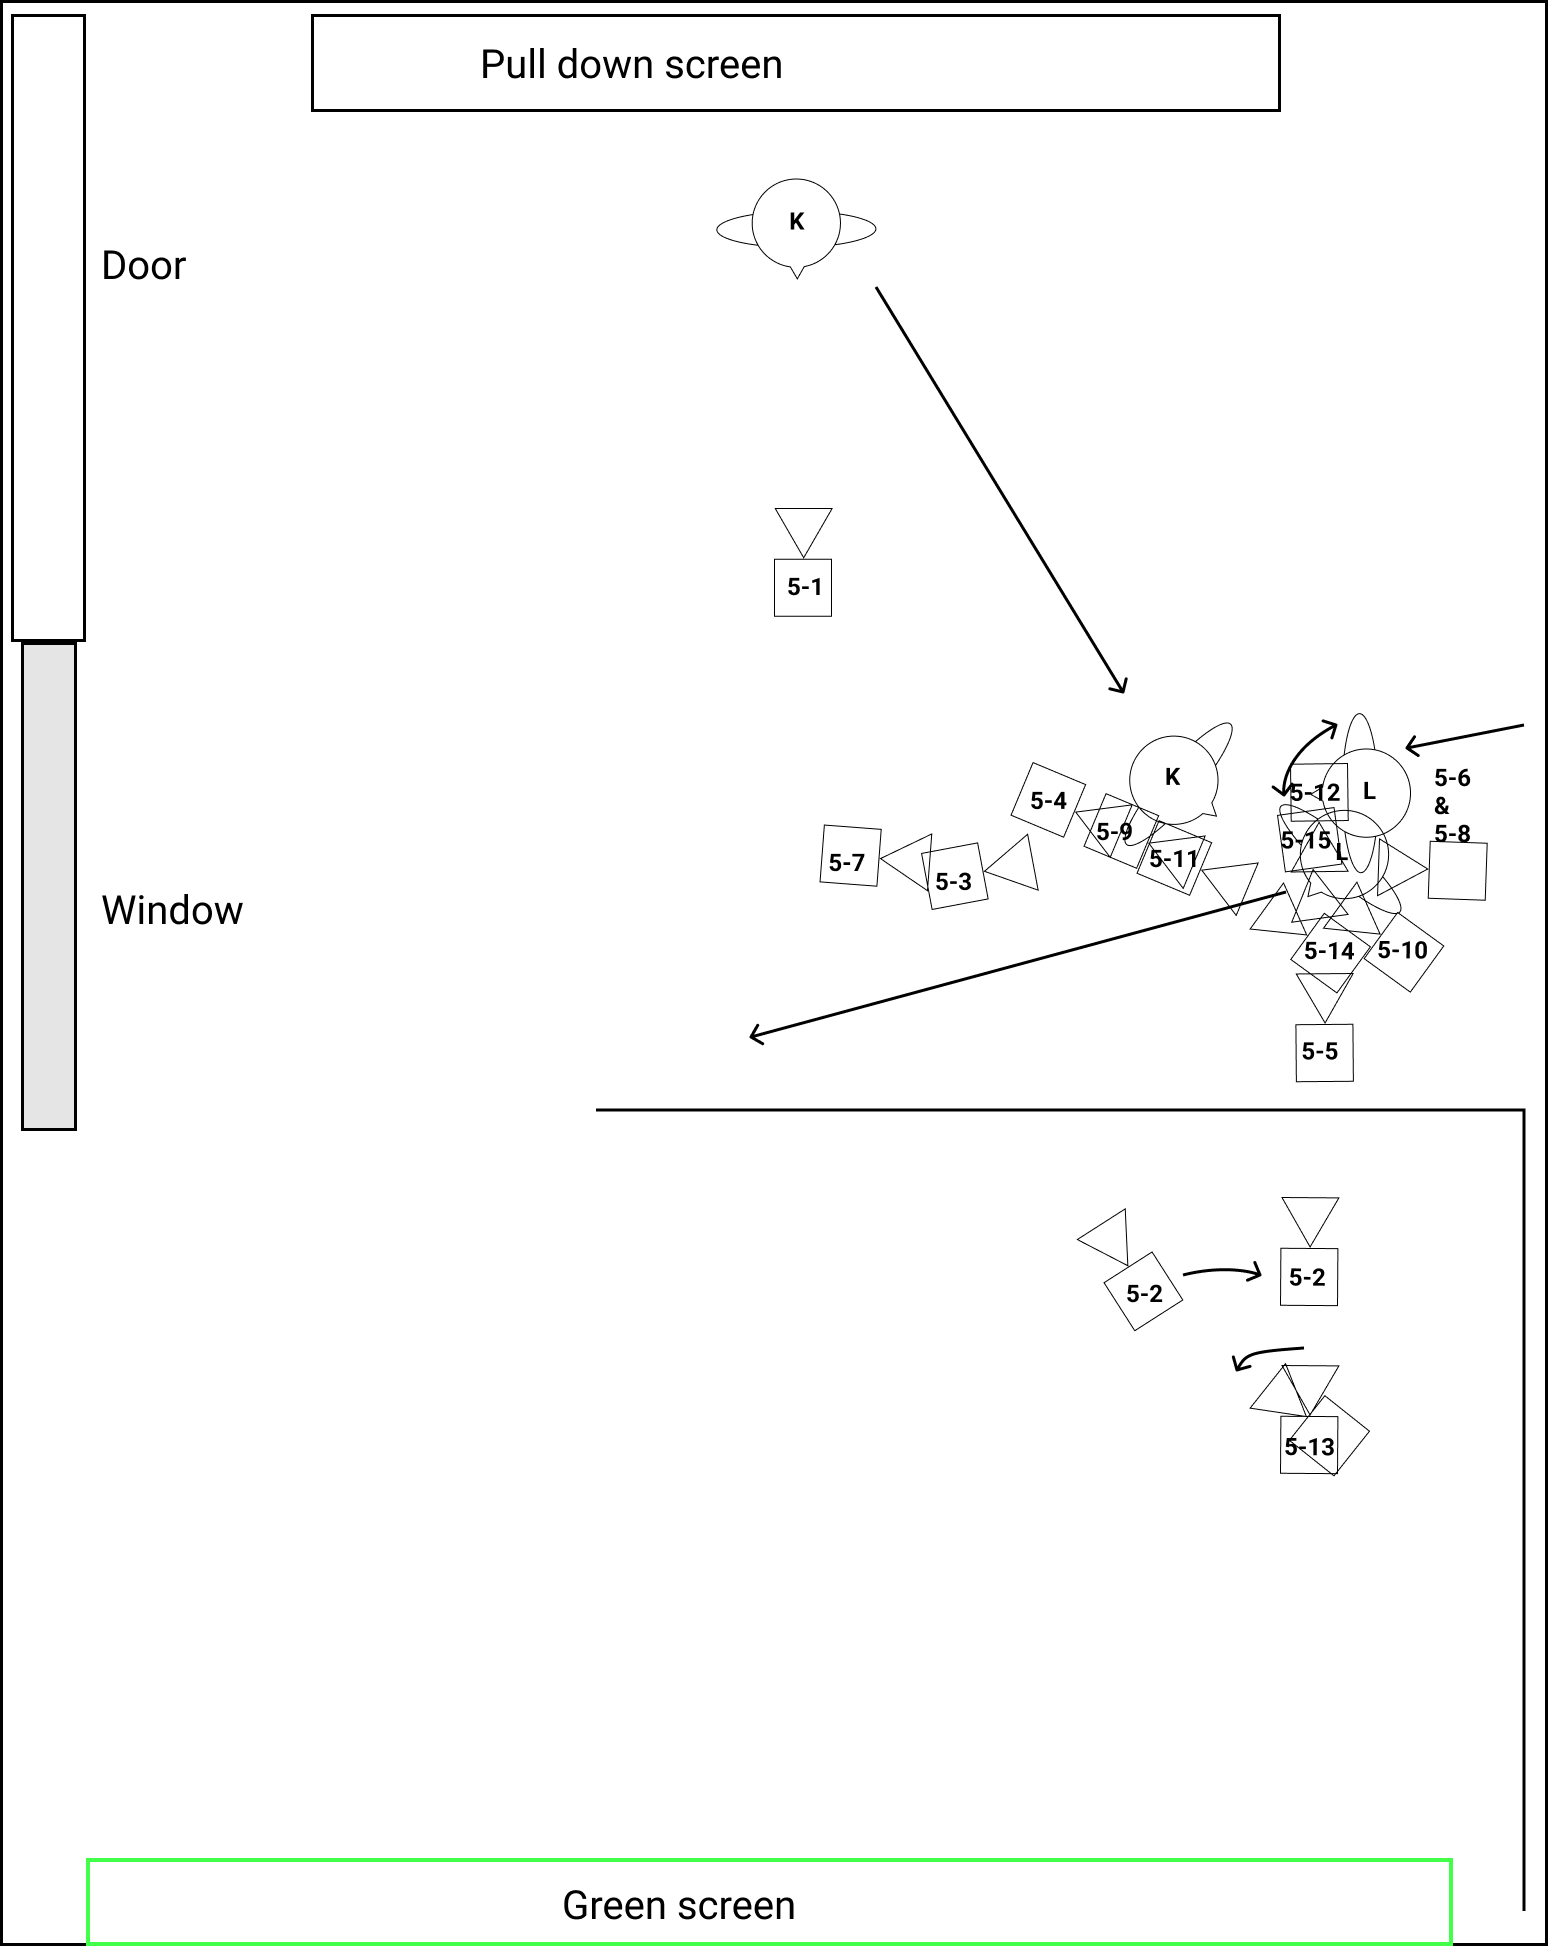
As a director and camera operator, I organized all of the compositional elements within the shot during the filming process. Figure 2 is a production still showing me operating the camera with Figure 3 as the equivalent shot used in the film. To prepare for the filming days, I created an overhead diagram, as seen in Figure 4, to roughly envision the camera placement for each shot on the shot list within the space. Using the diagram, I was able to create a shot order that would be the most appropriate for our schedule.
On set, as I primarily coordinate what would be in the frame, I had to communicate effectively with sound, lighting, as well as actors to create the intended outcome within the scheduled time.
VFX
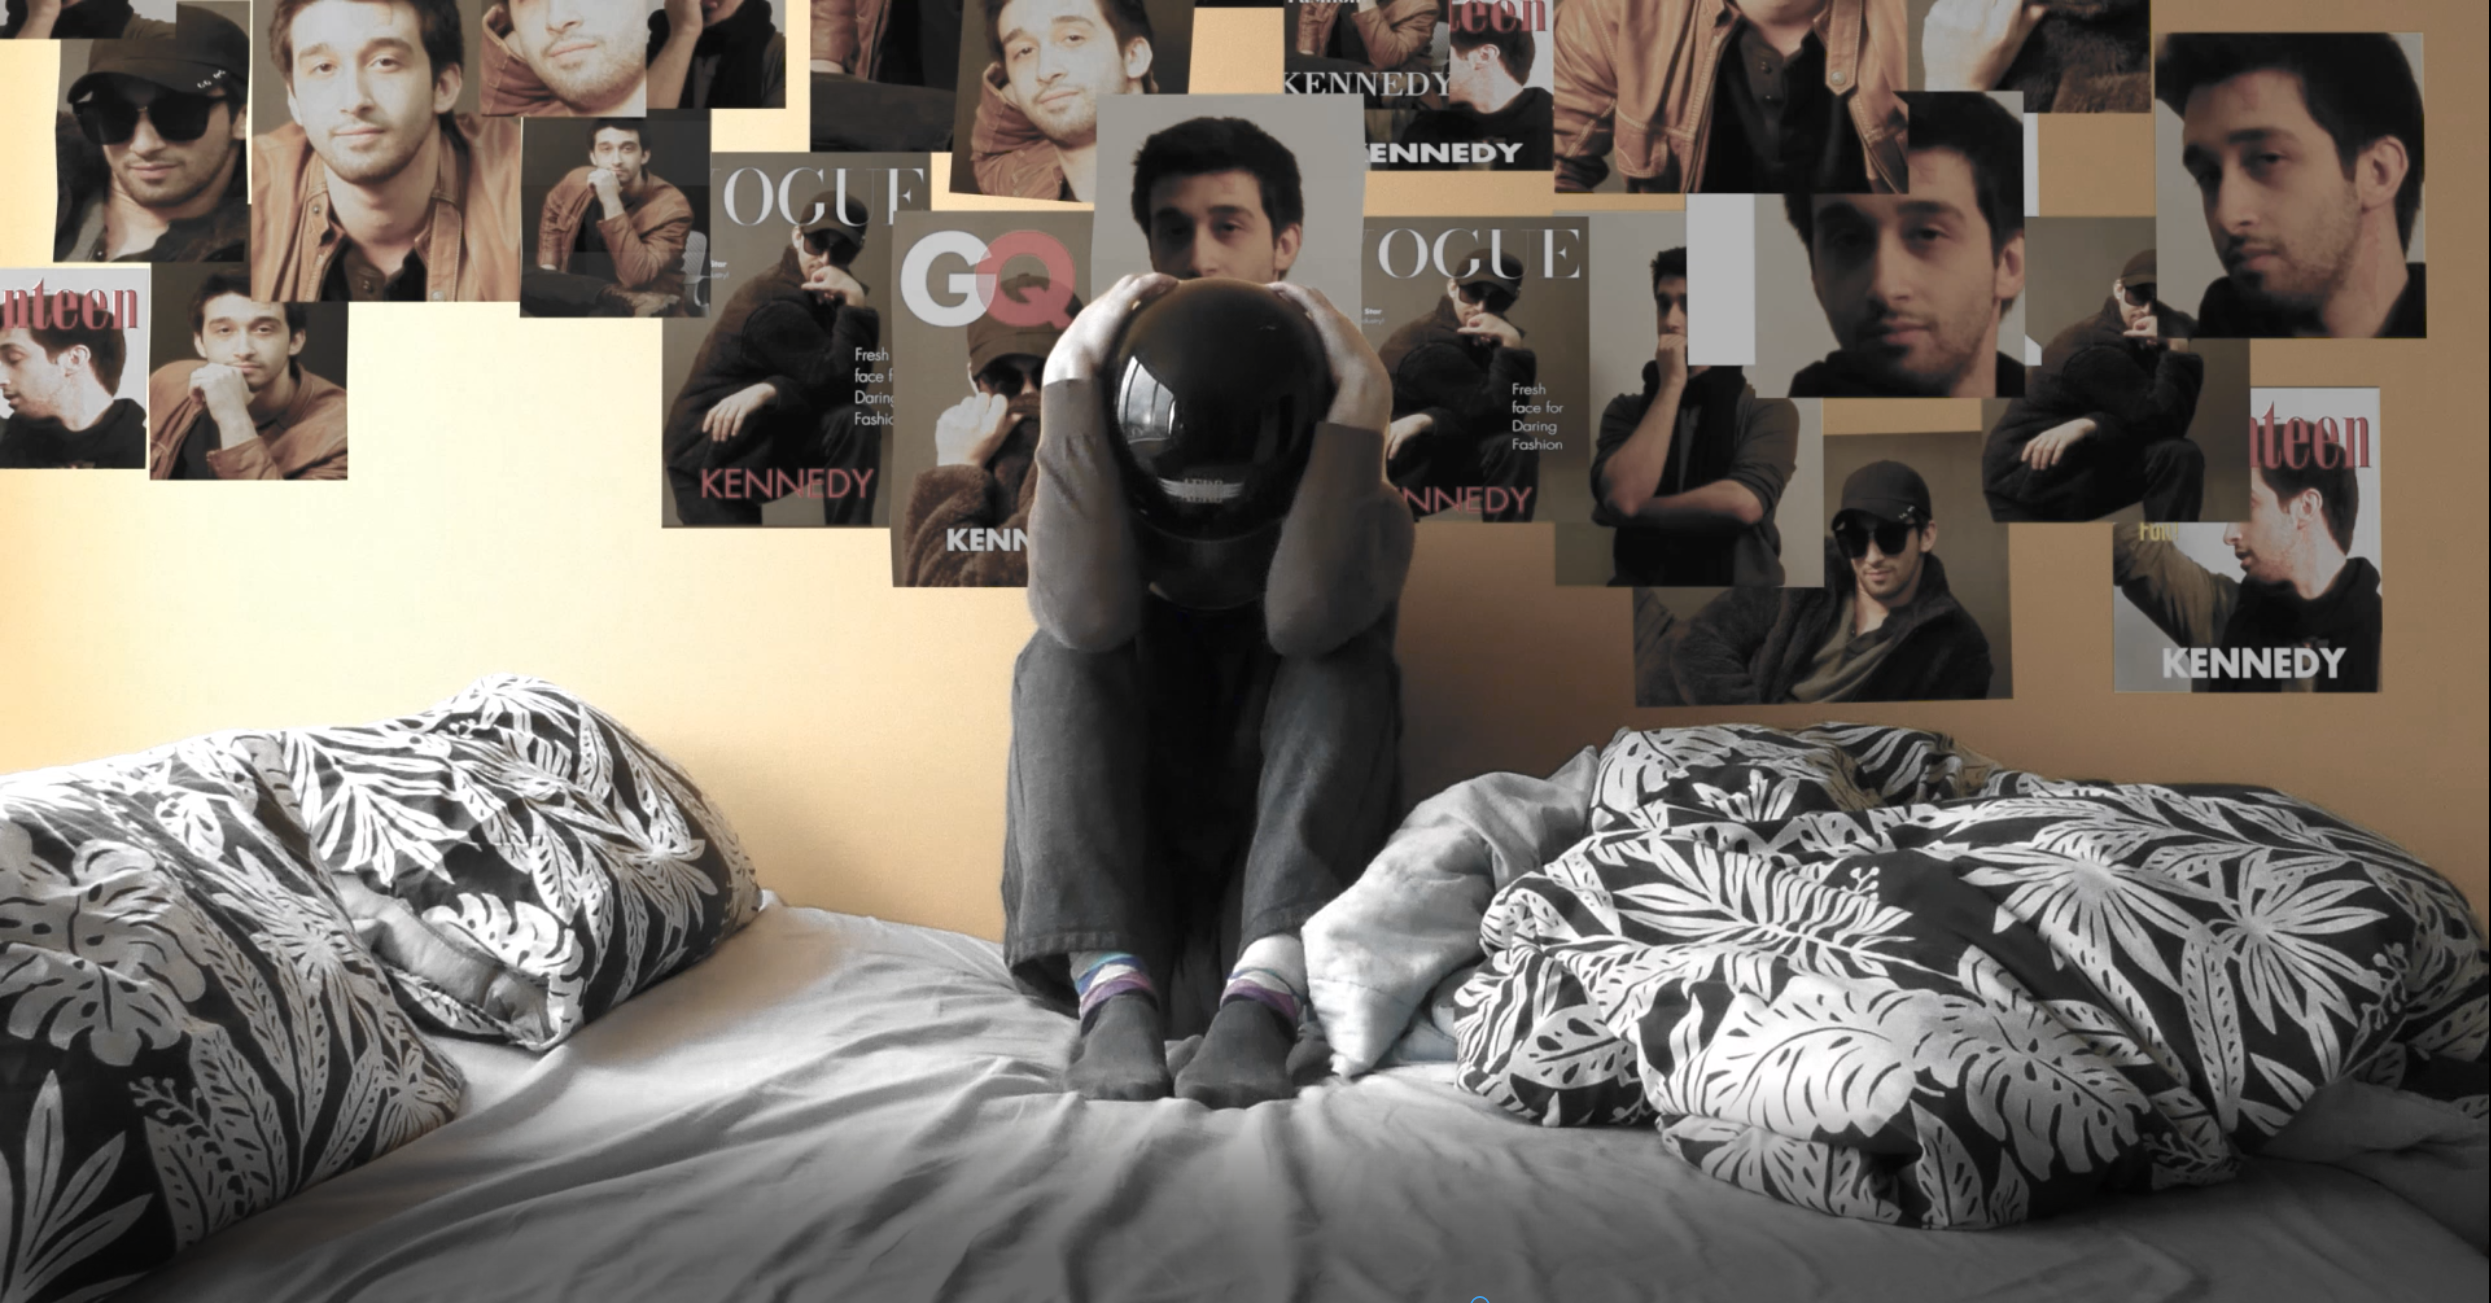
One challenge while working on the film was adding the background poster into some shots in post-production, a decision that was made due to budgetary and scheduling constraints. To create the posters, I referred to Ian Hubert’s tutorial Making Fliers in Blender-Lazy Tutorial (2019), arranging planes in the 3D software Blender and matching the light source based on photos taken on the set. Figure 5 shows raw footage with a reference placed on the wall on the left in comparison with the render on the right.

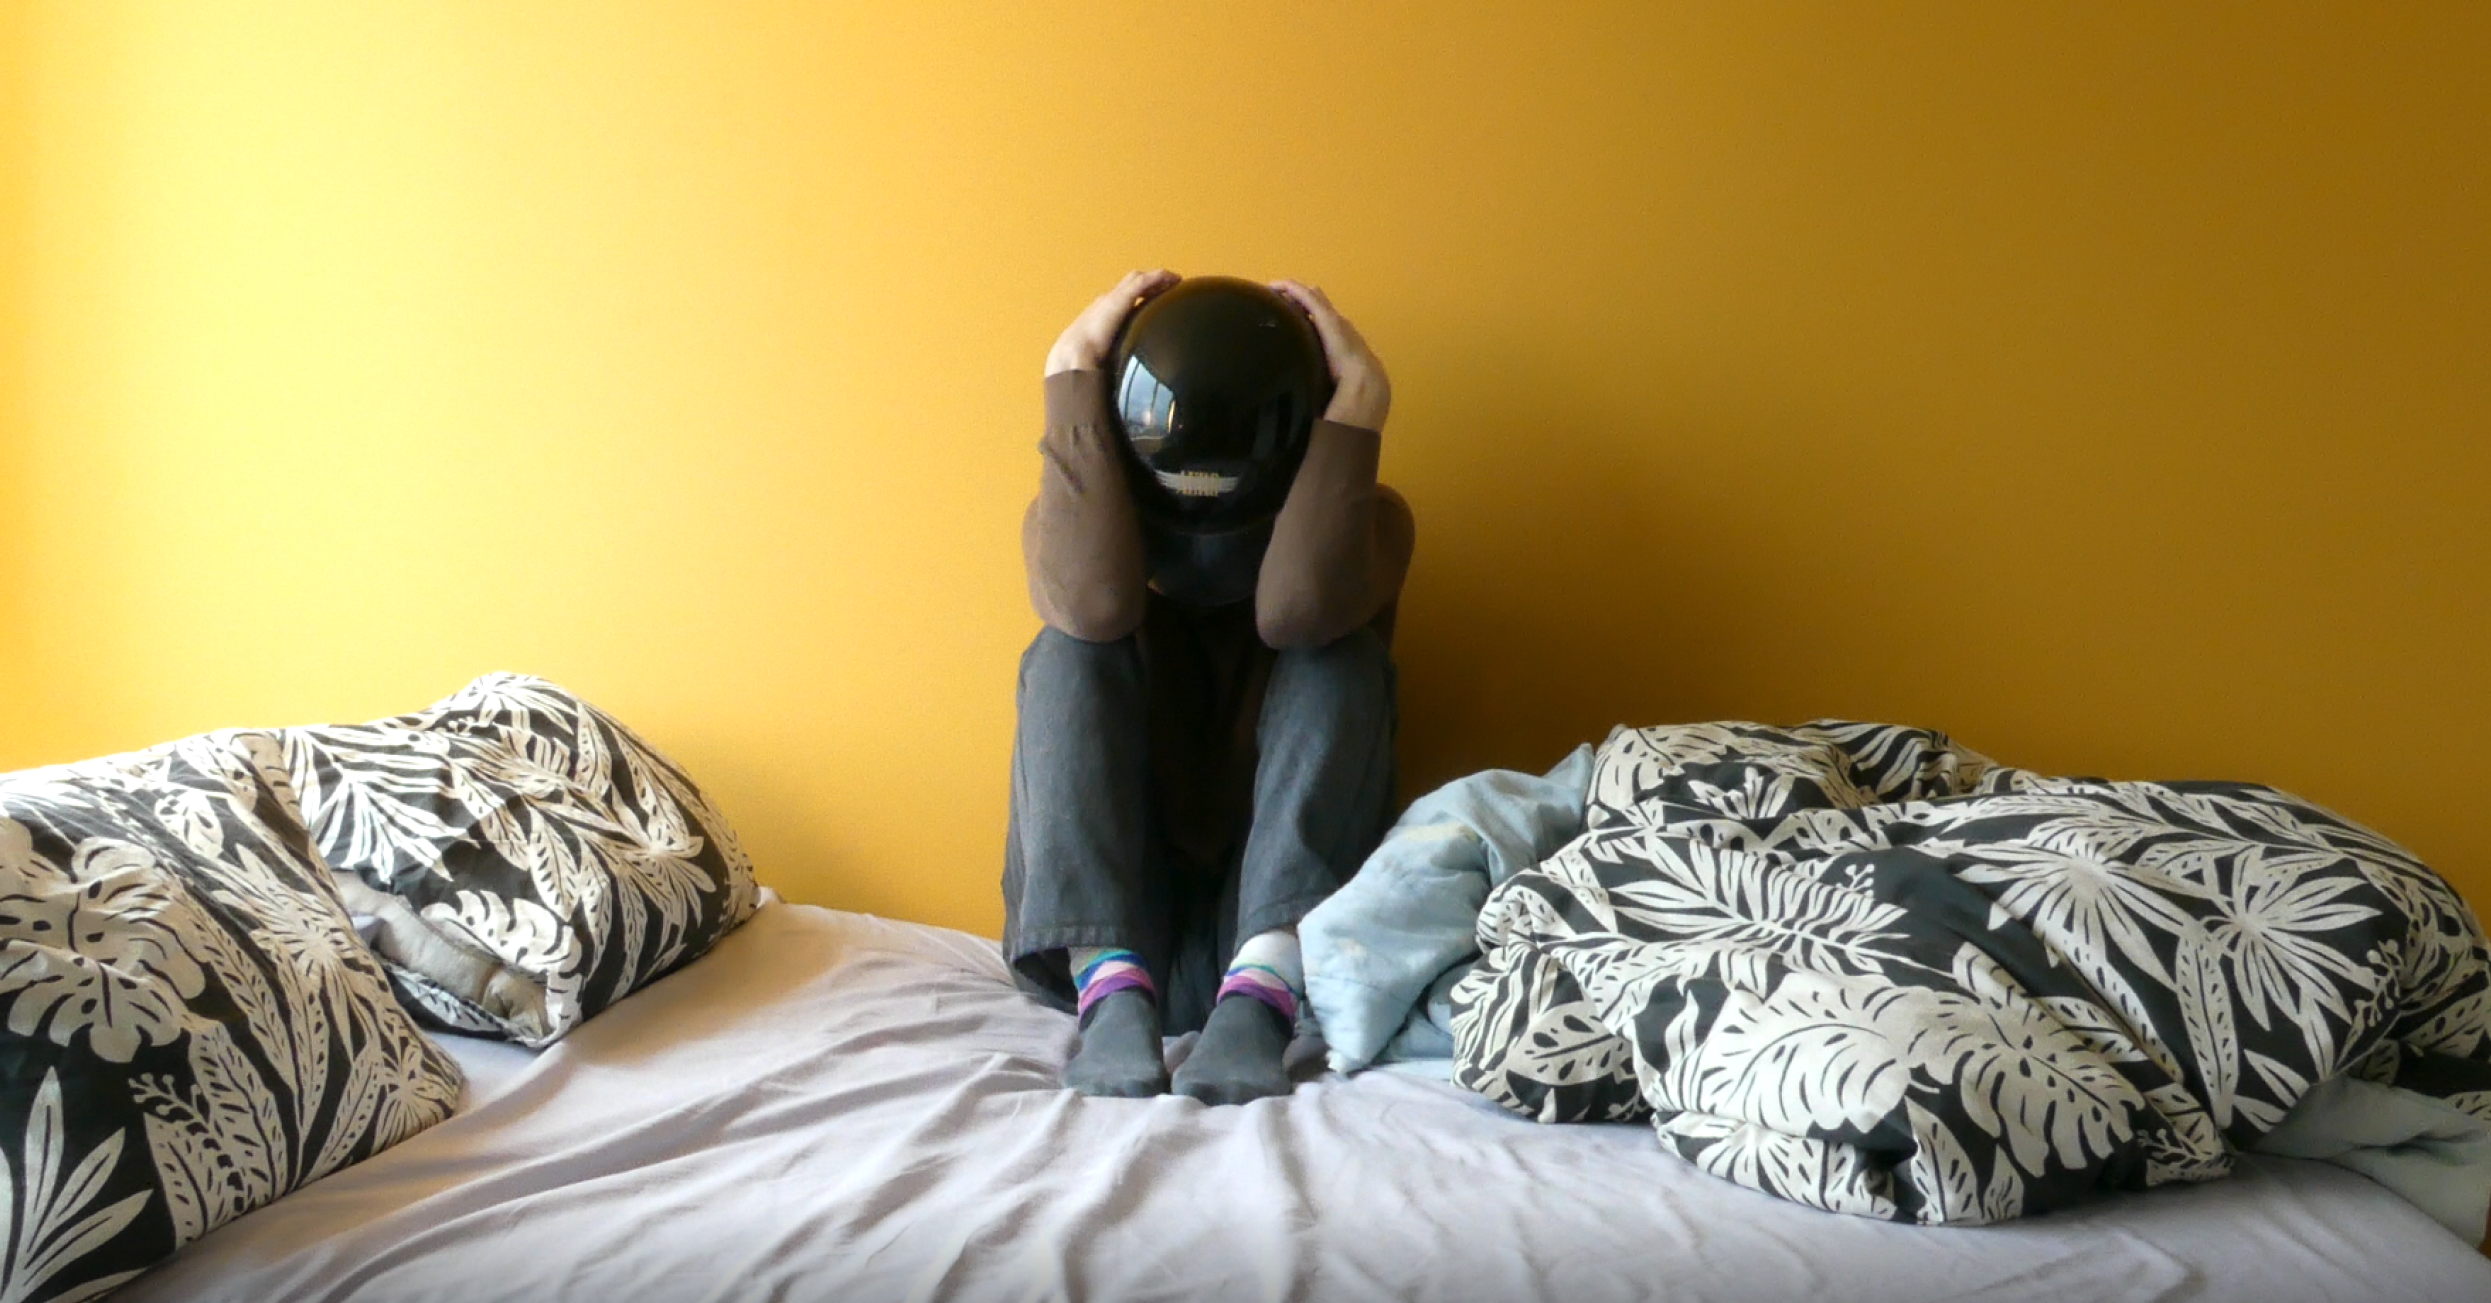
Using After Effects, I tracked the posters into each shot and then rotoscoped the actor to put him in front of the posters. The result can be seen in Figure 6 a frame from the finished film in comparison to the raw footage equivalent in Figure 7.
Reflection
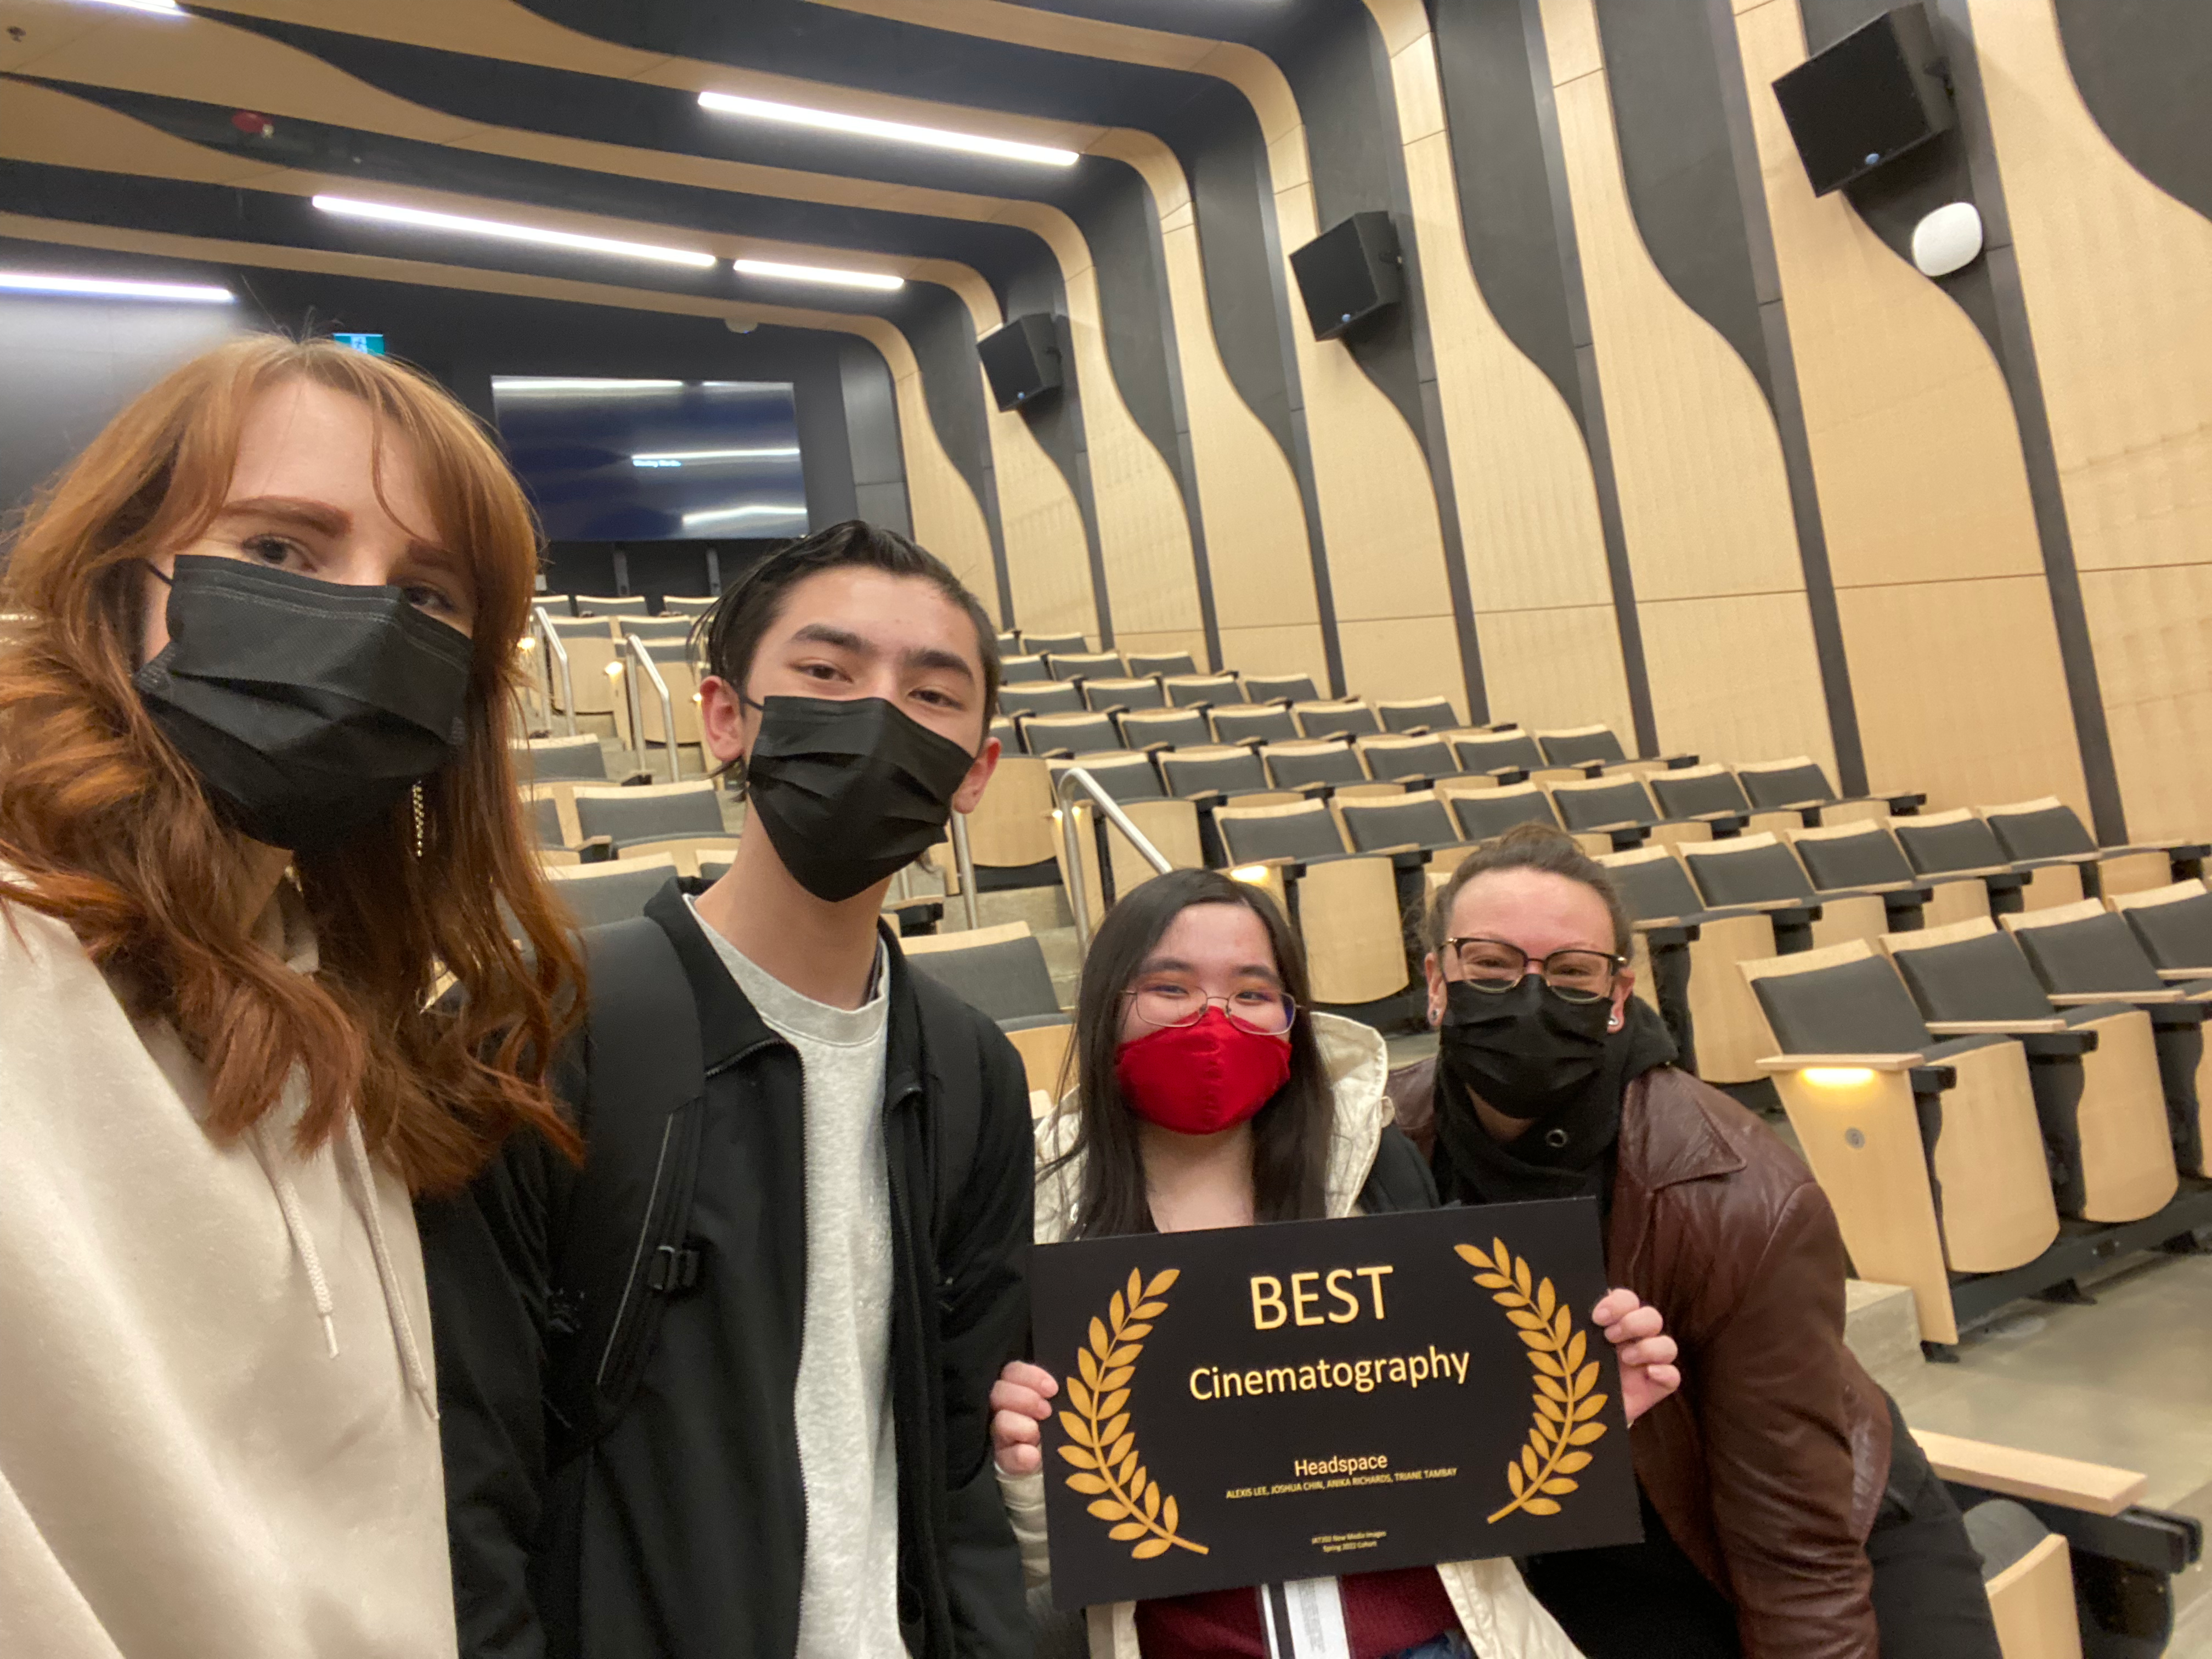
Through this project, I was able to practically apply a video production workflow, learn essential communication skills as well as stretch my creativity to find solutions during the filming process to work within our resources. It was an incredibly rewarding experience to work on this project with my teammates and to see our efforts recognized as the film won a technical award for best cinematography at the class’s film screening (Figure 8).
References
- Ian Hubert. (2019, July 5). Making Fliers in Blender - Lazy Tutorials [Video]. YouTube. https://youtu.be/U1f6NDCttUY